
Setting Up Dahua Generation 2 - VTO's
Generation 2 VTOs (IP Intercom Outside Station) have a SIP Server allowing more powerful and reliable control between multiple VTOs and VTHs (Monitors). The setting up of these is the same for all models accept the part about the setup of the digital keypad, this only applies to models that have this feature.
Initialising
Connect the VTO to a home Internet Router (or LAN from now on) with a network cable. It's best to do this on a work bench or kitchen table to begin with. If using a WiFi Access point in the final installation this could be initialised and setup at the same time (see its instructions), and the VTO can be plugged into this later. Initialising is done with a computer, Tablet or Smartphone connected to the same network and is done using a Web Browser such as Google Chrome, Mozilla Firefox, Apple Safari or if you must Microsoft Edge or Explorer as follows:
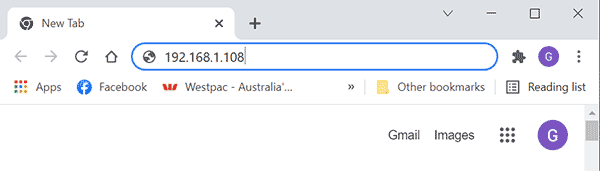
Enter the default IP Address of the VTO which is 192.168.1.108 into the Address bar at the top of a Web Browser and hit enter.
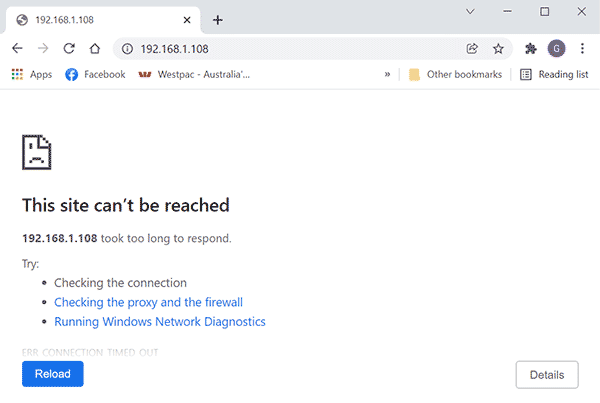
If you get a message saying something like "This site can't be reached" this will be because the first three numbers of the IP Address or the Subnet as it is called is not the same as the LAN so the IP Address will need to be changed. See Changing the Default IP Address of a Device to work on a LAN. The beginning of this page also covers the basics of Networking and setting up IP devices that you may find helpful.
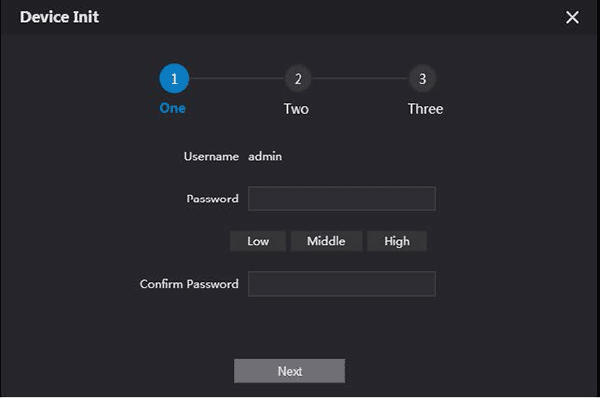
If the IP Address of the VTO is correct to begin with you will see the initialisation page that requires you to assign the VTO a password. It will ask you for your email address too but this is optional because if you forget your password you can always reset the VTO to factory settings using a reset button on the back of the VTO.
What's Next
At this point if you want to have the VTO to Call Smartphones only or more than one Monitor you won't need to change anything else in the VTO to get these working, although you will need to login to add codes for the digital keypad, set date and time etc...
To get the VTO to call a Smartphone you will need to install the DMSS App on your Smartphone or Tablet. See Installing and Using the DMSS App on a Smartphone
If you want the VTO to call a single monitor on its own or with a Smartphone too then there is one setting that needs to be changed in the VTO to make this work, which is covered next.
Changing Settings
Once Initialised you can login and change settings of the VTO.
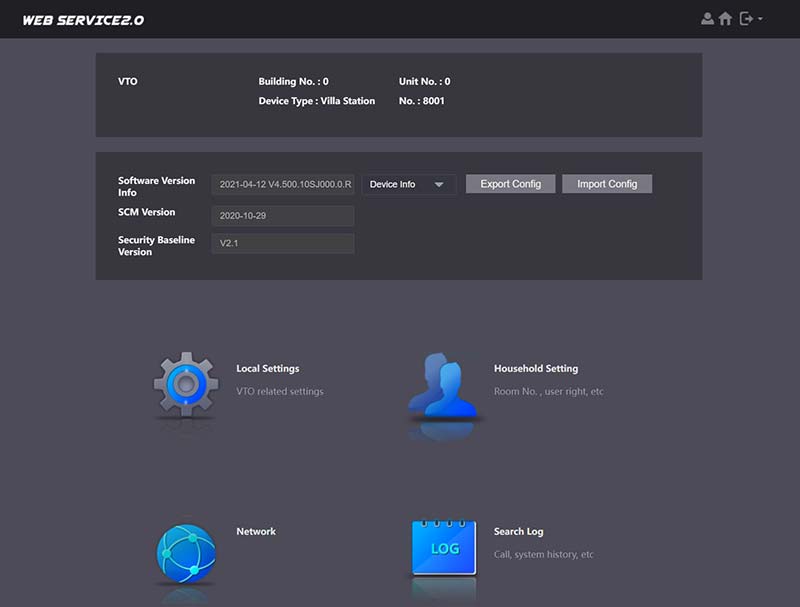
When first logged in you are on the Home Page as above.

If you want to install a Single Monitor go to Local Settings and choose the Basic Option, uncheck The Group Call and save. The VTO will reboot that takes a minute or so. This set the VTO to call only one Monitor. This will need to be left on if you wish to install more than one monitor. See the Monitors installation instructions for details on how to install a monitor.
If you wish to adjust camera or audio settings go to Local Settings/Video and Audio. These settings are plug and play so don't need further explanation.

Under Local Settings/Access Control Settings/Local you can change the time the Lock Output will stay on when activated and a number of other settings. Once again these are plug and play.
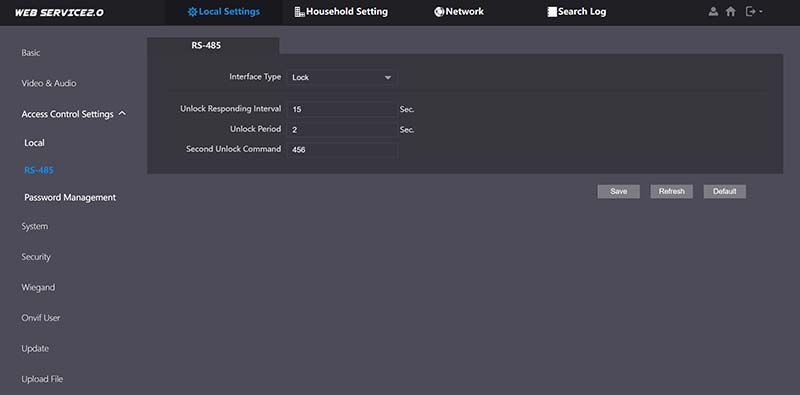
If you have added an Expansion Module to control a second gate in the Local Settings/RS-485 option you can adjust the time the second lock stays on etc...
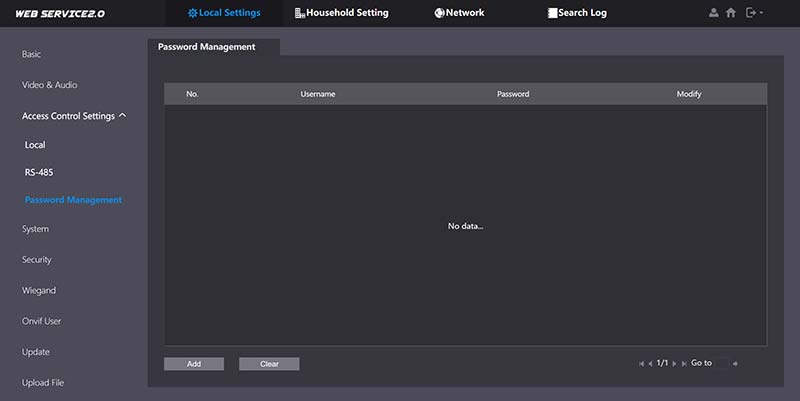
To add codes to the Digital Keypad go to Local Settings/Password Management and chit the "Add" button.
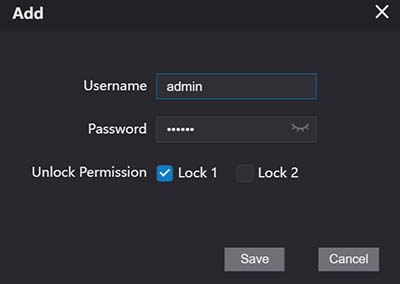
Then add admin in Username, a 6 digital code in the Password and uncheck lock 2 unless you have an expansion module with a second gate setup and you want the code to operate that gate then uncheck lock 1 and check lock 2.
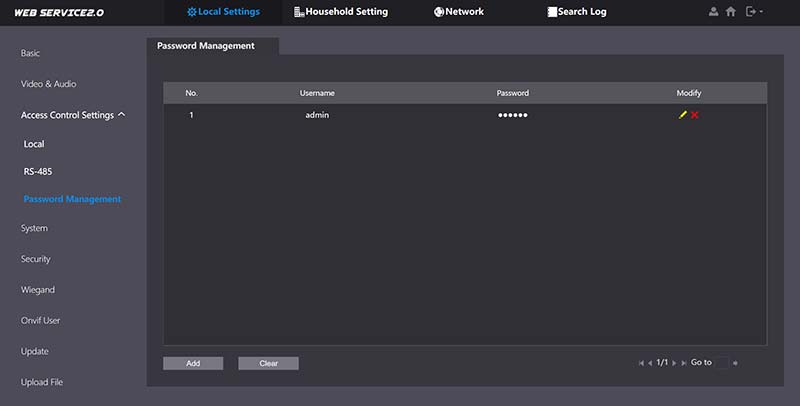
Then this code will appear in the list. You can add more code if you want, not sure how many, have tried 10 different codes, which is about as many as you will need, I'm sure more can be added.
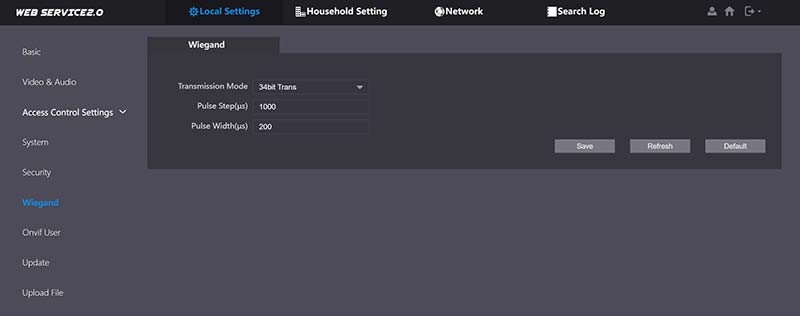
If you have added a Wiegand Digital Keypad or other device you can change the settings of Wiegand to match the device you have installed.
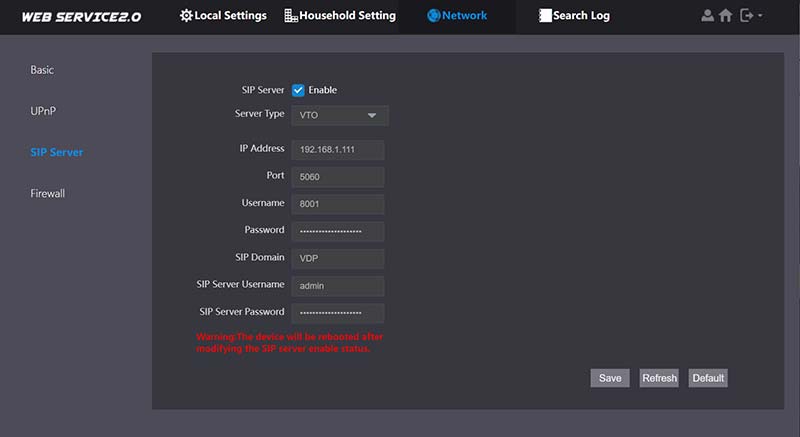
If you wish to add more then One VTO you can although the first VTO becomes the Main VTO and must have its SIP Server Enabled, which is what connects all the VTOs and VTH's (Monitors) together so they can call each other. The sub VTOs however must have the SIP Server not Enabled and the IP Address of the Main VTO entered as well as the Main VTO's Password, which is also the SIP Servers Password, everything else left as it is. When saving the VTO will reboot, which will take a few minutes.
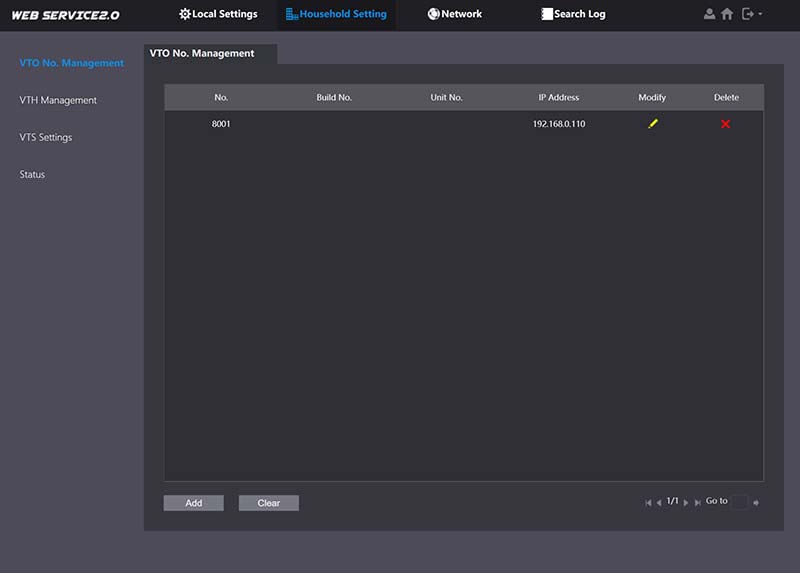
You then need to go to Household Setting/VTO No. Management in the Main VTO and you will see the Main VTO is already in there and can't be deleted or Modified. Sub VTO's can be added with the "Add" Button.
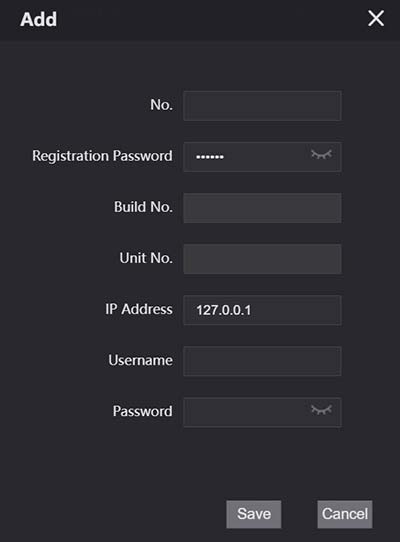
Where a VTO number should be added, the Main VTO is 8001 so the Subs could be 8002, 8003 etc... Leave the Registration Password as default make the building number 0 and Unit number 0, these are for Apartment versions of the VTO, then the IP Address of the Sub VTO as well as it user name and password then save and it will appear in the list.